1. The Core Objective: Knowing What Every Function Does
This lesson is a foundation. It does not teach advanced copywriting or algorithmic tricks. The instructor states this directly:
"This is not a copywriting course. I'm just showing you how to actually use the functions here."
That is exactly why it is worth studying. Before you can write a high-converting ad or slice an audience with surgical precision, you need to understand what every setting in Ads Manager actually controls and why it exists.
We followed this lesson inside our own Digital Advocators account and built a real campaign from start to finish. The original training was recorded on an older version of Facebook, so below you will see the instructor's strategic reasoning paired with where that same setting lives in Meta Ads Manager today.
2. Step by Step Walkthrough
Step 1: Choose What Result You Want
Every ad begins with one core question from the platform: what kind of result do you want from your advertising? These are called campaign objectives.
"The objective is really going to be determined by what you're trying to do with your advertising."
The instructor notes that most advertisers are after one of two things: clicks to their website or conversions on their website.
Our Modern Implementation: We chose Traffic, which is today's name for website clicks. On the next screen, Meta offered "Recommended settings" or a "Manual traffic campaign." We selected Manual so we could configure and control every parameter ourselves.
Step 2: Name Things So You Can Read Them Later
The instructor's agency follows a disciplined naming convention:
- Campaign: Named after the audience targeting theme (e.g., "Dave Ramsey, Men 30 to 40").
- Ad Set: Named after the ad number ("Ad 1," "Ad 2") in the order of creation.
Our Modern Implementation: We named our campaign "DA Blog Traffic Test $5/day" and our ad set "DA Funnel Architecture Ad 1." We left Special Ad Categories blank (only for housing, credit, or employment), and kept budget control at the Ad Set level to maintain granular control over daily spend.
Step 3: Tell Facebook Where to Send People
Next, the platform asks for the destination URL. In today's Ads Manager, this setting appears twice. At the ad set level, Meta defaulted to Message destinations (pushing users into DMs). We switched it to Website. At the ad level under Destination, we pasted the direct link to our breakdown.
Meta also suggested changing the performance goal from "Link clicks" to "Landing page views," which only counts users who wait for the page to load completely. That is a far more honest metric.
3. Step 4: Choose Who Sees It
"Here's where things get really interesting. The more that you know about your customer... you can thinly slice those things in here and you can really get your ad narrowed down."
The instructor walks through the targeting layers:
- Location: Specific countries or metropolitan regions.
- Age and Gender: Defined demographic brackets.
- Detailed Demographics: Relationship status, education, industry, and home ownership.
- Interests: Broad industry themes, or fan bases of specific authoritative pages.
- Behaviors: In-market purchasing activities and charitable contributions.
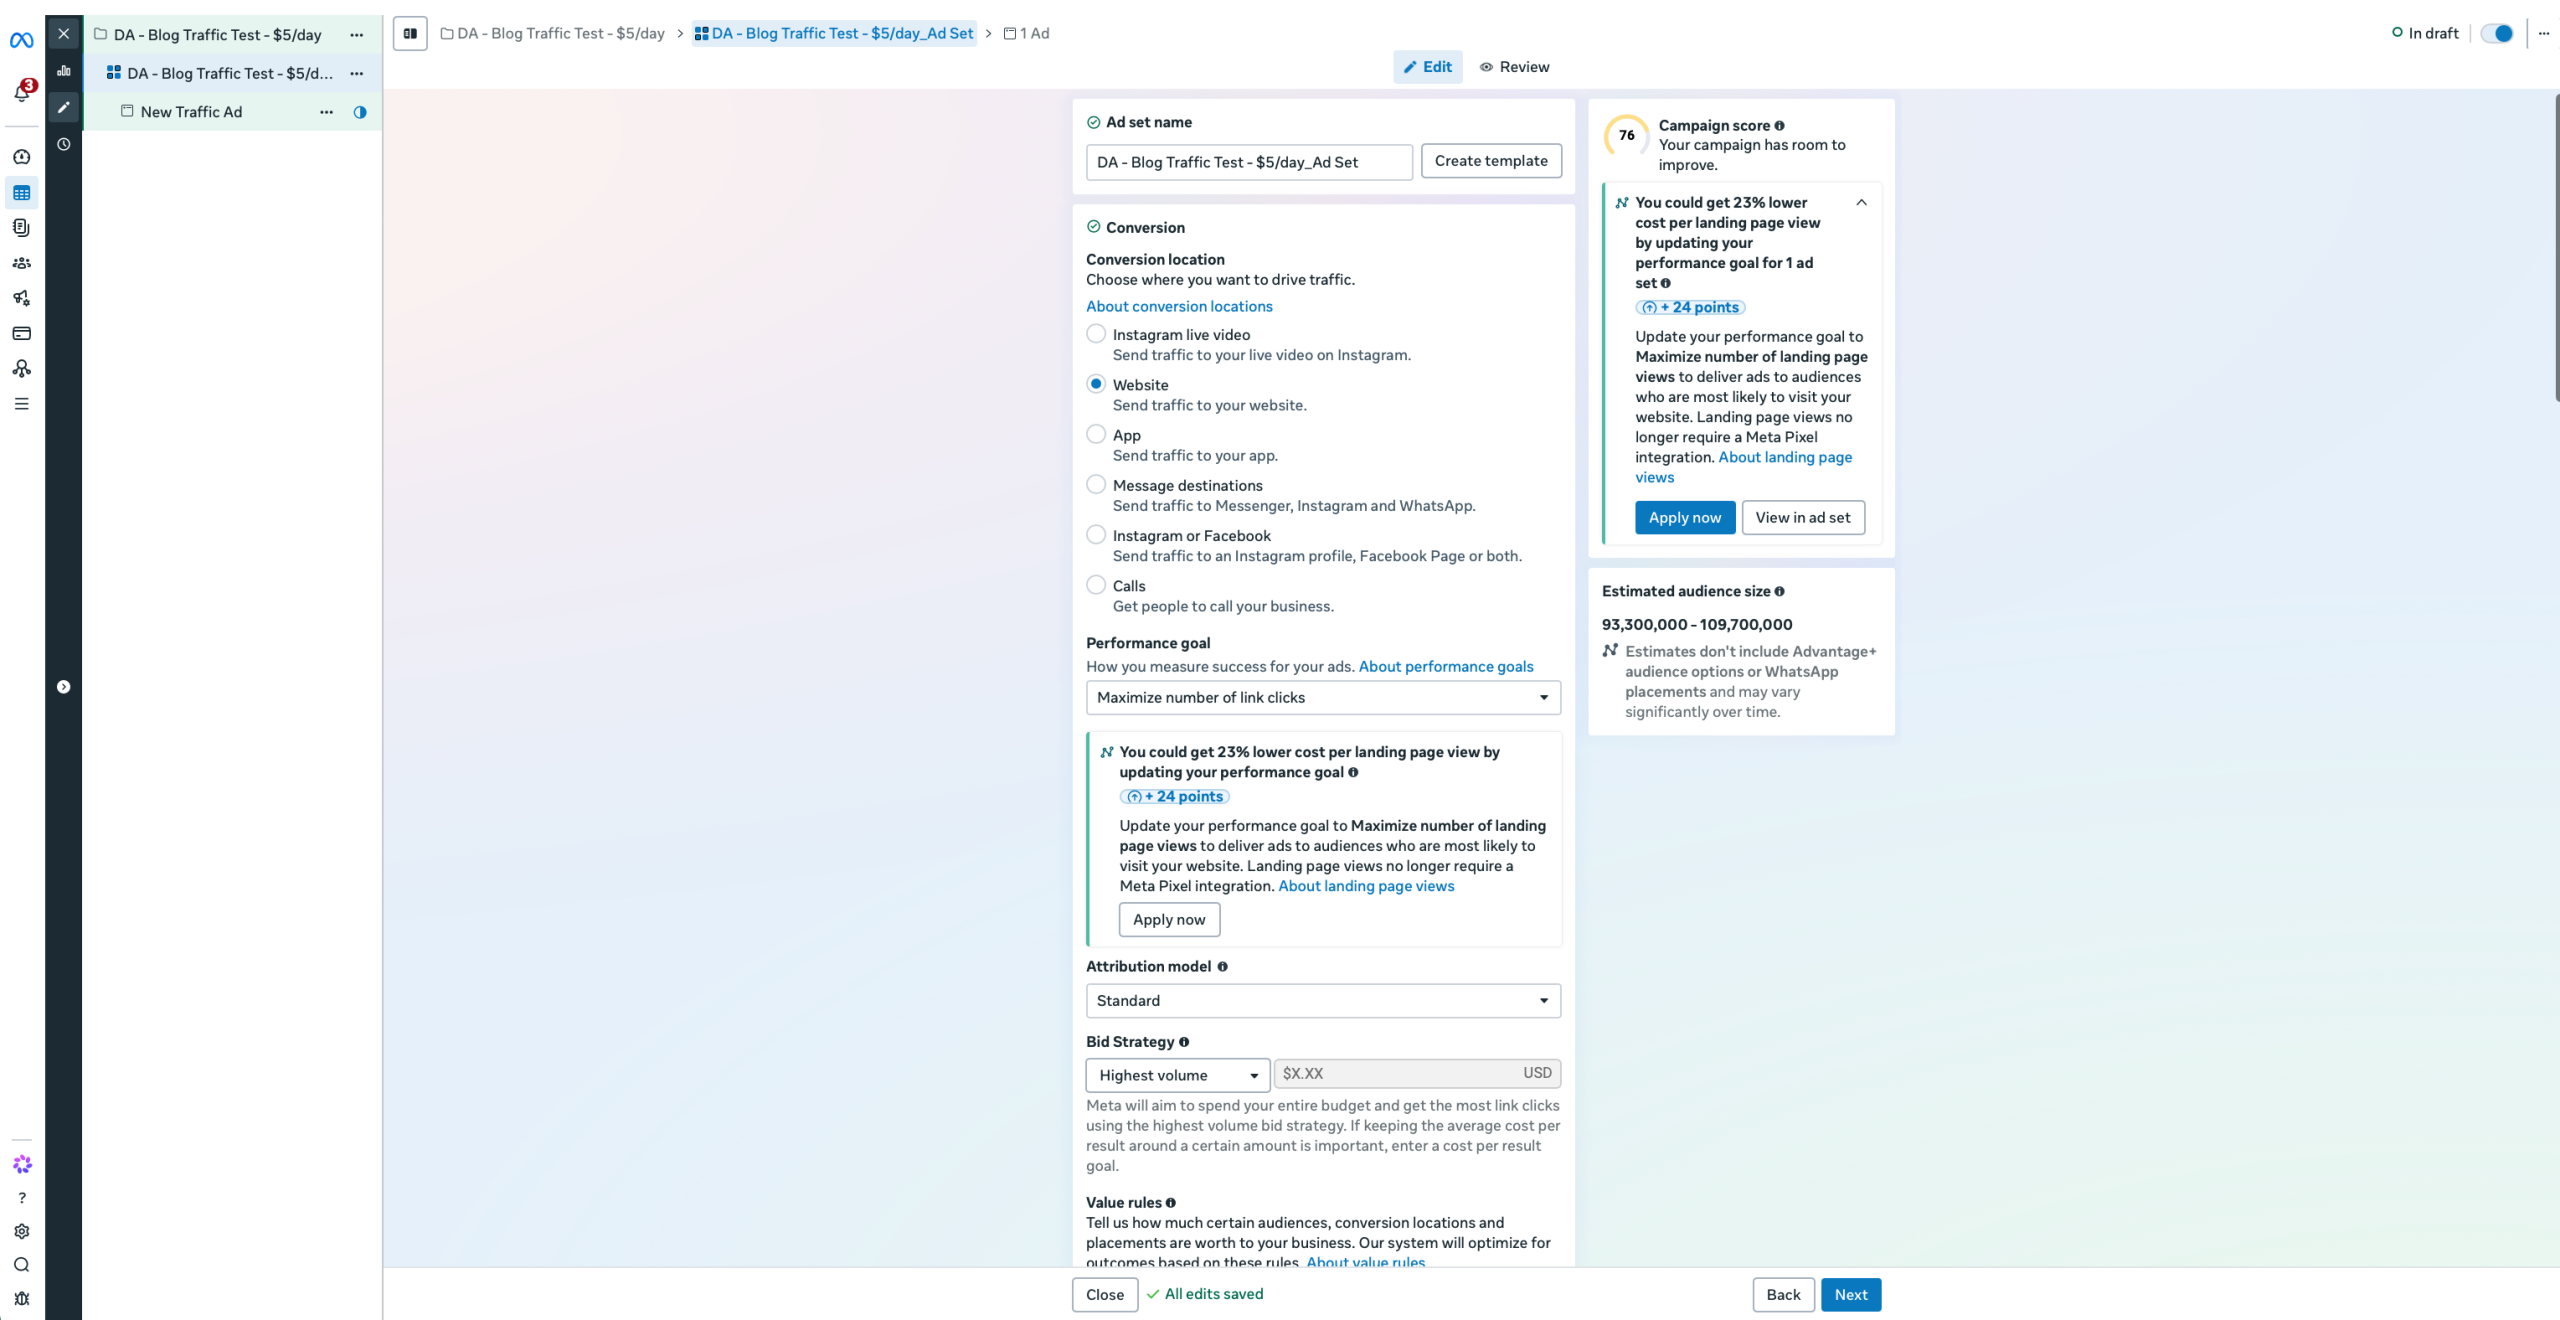
Our Modern Implementation: We restricted location to the United States, set a minimum age of 24, and selected three affinity interests: Entrepreneurship, Small business, and Digital marketing. As we added interests, the audience size estimate calibrated in real time, matching the instructor's potential reach guidance.
Step 5: Decide Where the Ad Shows Up (Placements)
The instructor's original advice was strict: start with Desktop News Feed only, because it converted best, and maintain one ad unit per campaign. Validate conversion economics there first before testing secondary placements.
Our Modern Implementation: Meta now defaults to Advantage+ placements, distributing impressions across feeds, Stories, and Reels. For a first discovery run, we tested the default, but we always segment desktop and mobile into separate ad sets once spend begins to scale.
Step 6: Set Your Budget and Schedule
"You can go as little as five bucks."
However, the instructor's practical recommendation is at least $10 a day to gather statistically meaningful data in a reasonable timeframe. He also advises running ads continuously with no end date, allowing ad review approval and early optimizations to proceed smoothly without sudden campaign cutoffs.
4. Building the Creative
Now comes what the user actually sees in their feed:
- Connect a Page: Select your official business Facebook page and linked Instagram account.
- Upload and Crop Media: Upload your creative asset in standard high-resolution format, verifying that feed, story, and banner crops align correctly.
- Primary Text: The core hook above the image that frames the opportunity and addresses the target customer.
- Headline & Description: The bold anchor text and supporting subtitle beneath the creative.
- Call to Action Button: Change the default button to "Learn more" to encourage low-friction exploration.
Step 9: Say No to the Automatic Extras
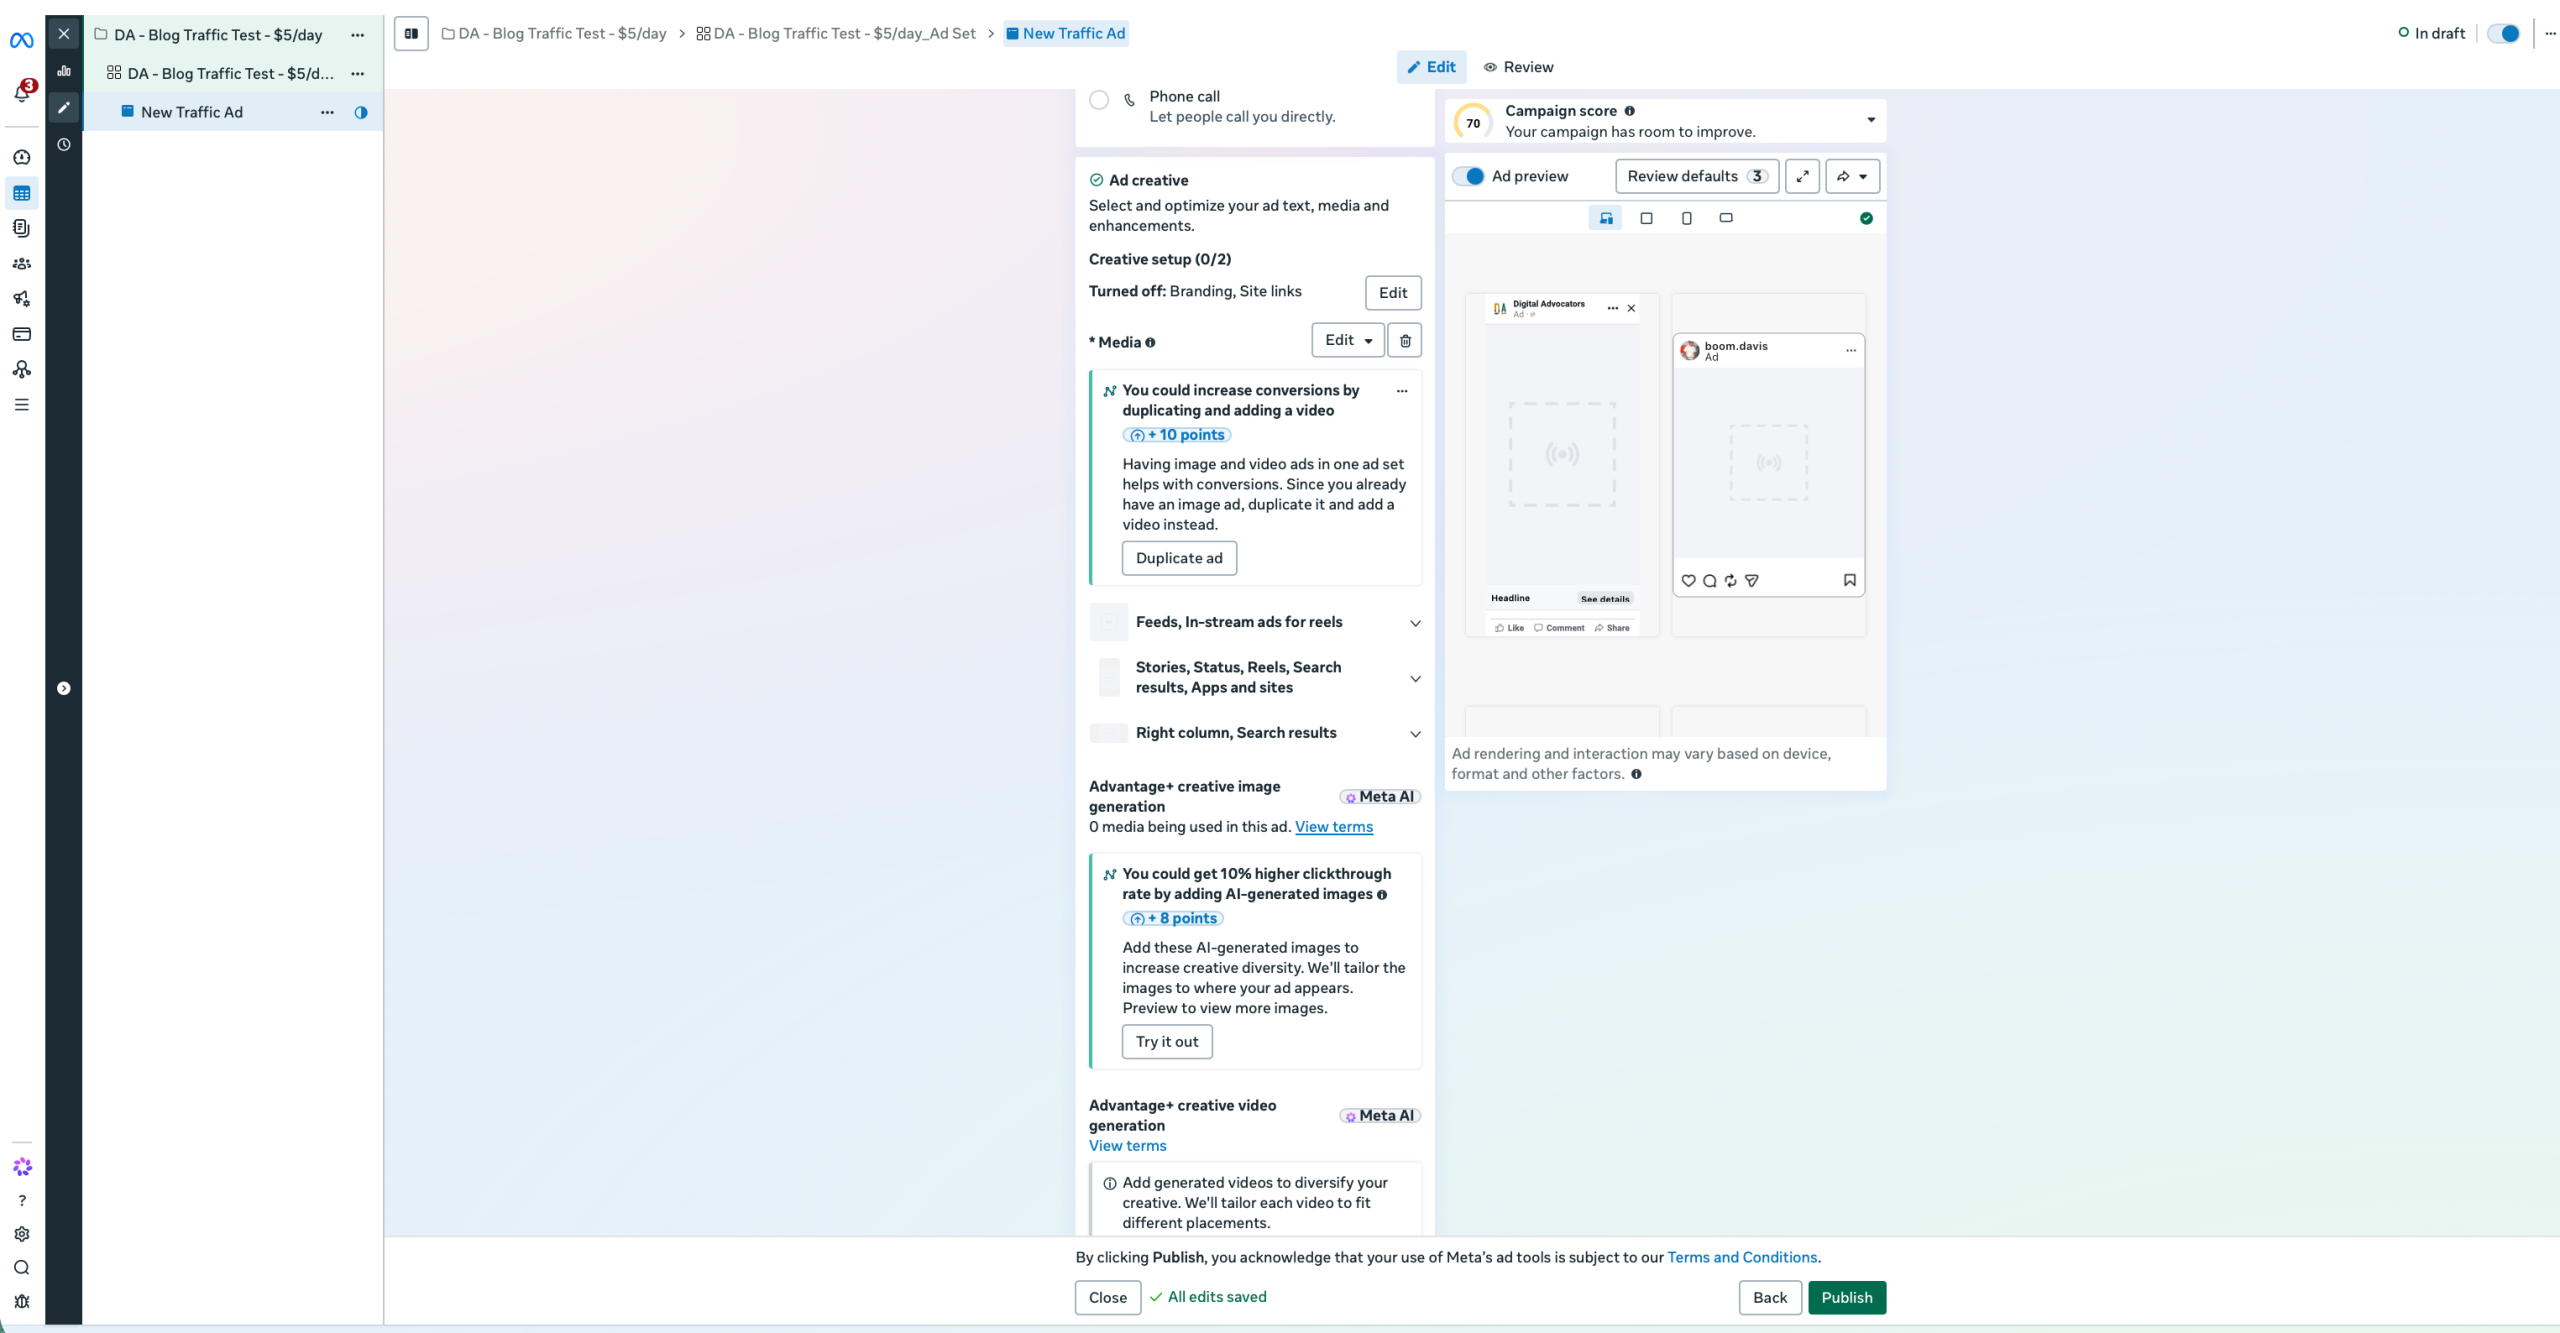
Modern Meta ads offer automated AI enhancements: visual touch-ups, auto-generated music, text rewriting, and overlay filters. Turn all of them off. You want prospects to see your exact messaging and designed graphics, so when an ad succeeds or fails, you know the exact reason why.
Step 10: Track It, Review It, Submit It
Always verify that your tracking pixel is selected under the Tracking section before publishing. If you are learning or building client drafts, the editor automatically preserves your work as a draft ("All edits saved"), requiring no credit card until you choose to publish.
5. The Trap to Avoid: Letting the Defaults Decide for You
Almost every screen in Ads Manager comes pre-checked with settings optimized for Meta's revenue: $20 daily budgets, Message destinations, and automated AI image rewriting. Inspect every single default checkbox before proceeding.
6. The Rule of Thumb: Clean Starting Formula
- Objective: Traffic (or Leads when conversion tracking is verified)
- Setup: Manual control
- Budget: $10/day for measurable testing, $5/day for sandbox learning
- Schedule: Continuous, paused manually based on performance
- Naming: Audience theme for campaign, ad number for ad set
- Changes: One independent variable at a time
