1. The Core Objective: The Structure Underneath Never Changed
When we opened our own Ads Manager for the first time in years, the first thing we noticed was that it looked nothing like the training videos. The lesson we followed was recorded on an older version of Facebook. Buttons had moved, tools had been renamed, and one entire tool no longer exists.
Here is the good news: the structure underneath never changed. If you understand how the account is organized, the interface layout stops mattering. This guide walks through the lesson the way it was taught, and shows you where each piece lives in the current version of Meta Ads Manager.
As the instructor puts it, the goal is simple: know what you are looking at, organize it well, and run reports so you can measure how well everything is performing.
2. Step by Step Walkthrough
Step 1: Understand the Three Levels
"There's three levels to the ads manager. There's campaigns, there's ad sets, and then there's ads."
Every ad you ever run lives inside this clean hierarchy:
| Level | What lives here | What you decide here |
|---|---|---|
| Campaign | The container | Your objective (what result you want) |
| Ad Set | The group | Who sees it, where, and for how much budget |
| Ad | The thing people see | Image, video, copy, headline, button, and destination link |
You move down by clicking a name in the table. You move back up the same way.
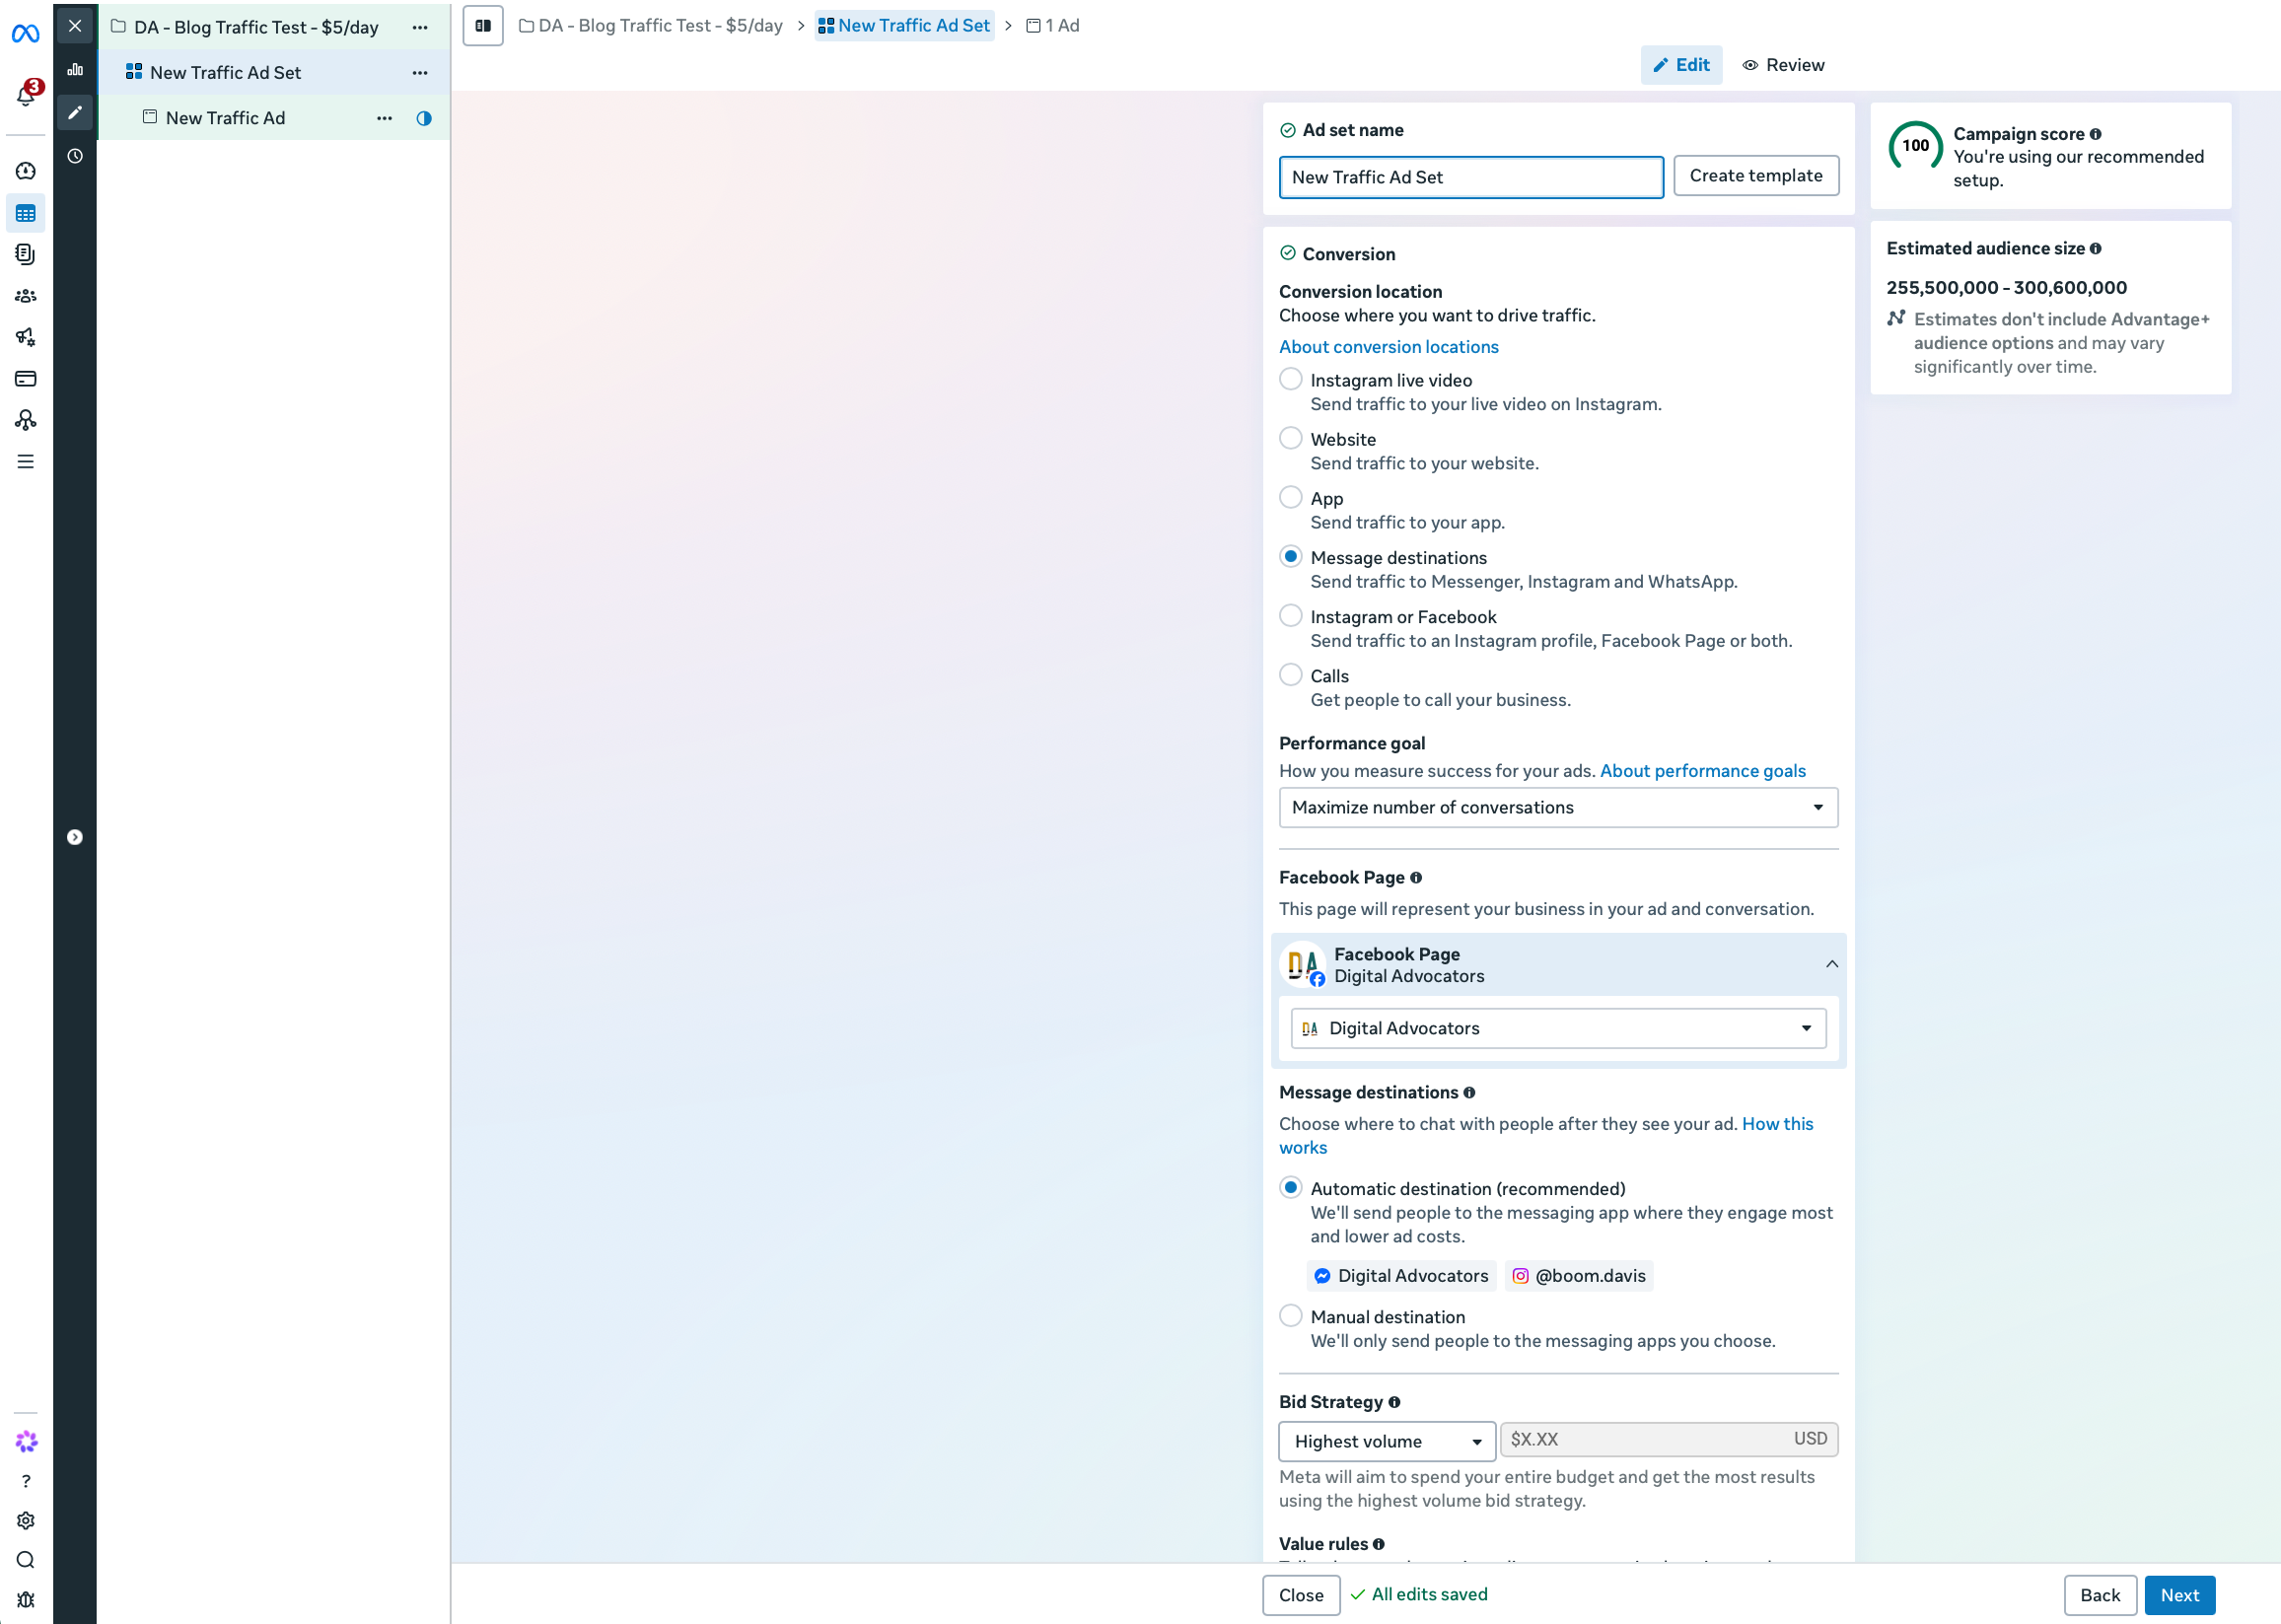
Step 2: Read the Campaign Level
At the campaign level, every campaign you have created is listed in one table, with data columns beside it. In the lesson, the instructor points out something most beginners miss:
"It will switch depending on the campaign goal that you set when you created the campaign."
So a campaign built for website clicks shows clicks, cost per click, reach, today's spend, and total spend. A campaign built for leads shows conversion columns.
What is different today: The old version had a long list of separate campaign goals. Meta has since consolidated them into six primary objectives: Awareness, Traffic, Engagement, Leads, App promotion, and Sales. When the instructor says "website clicks," that is what Meta now calls Traffic.
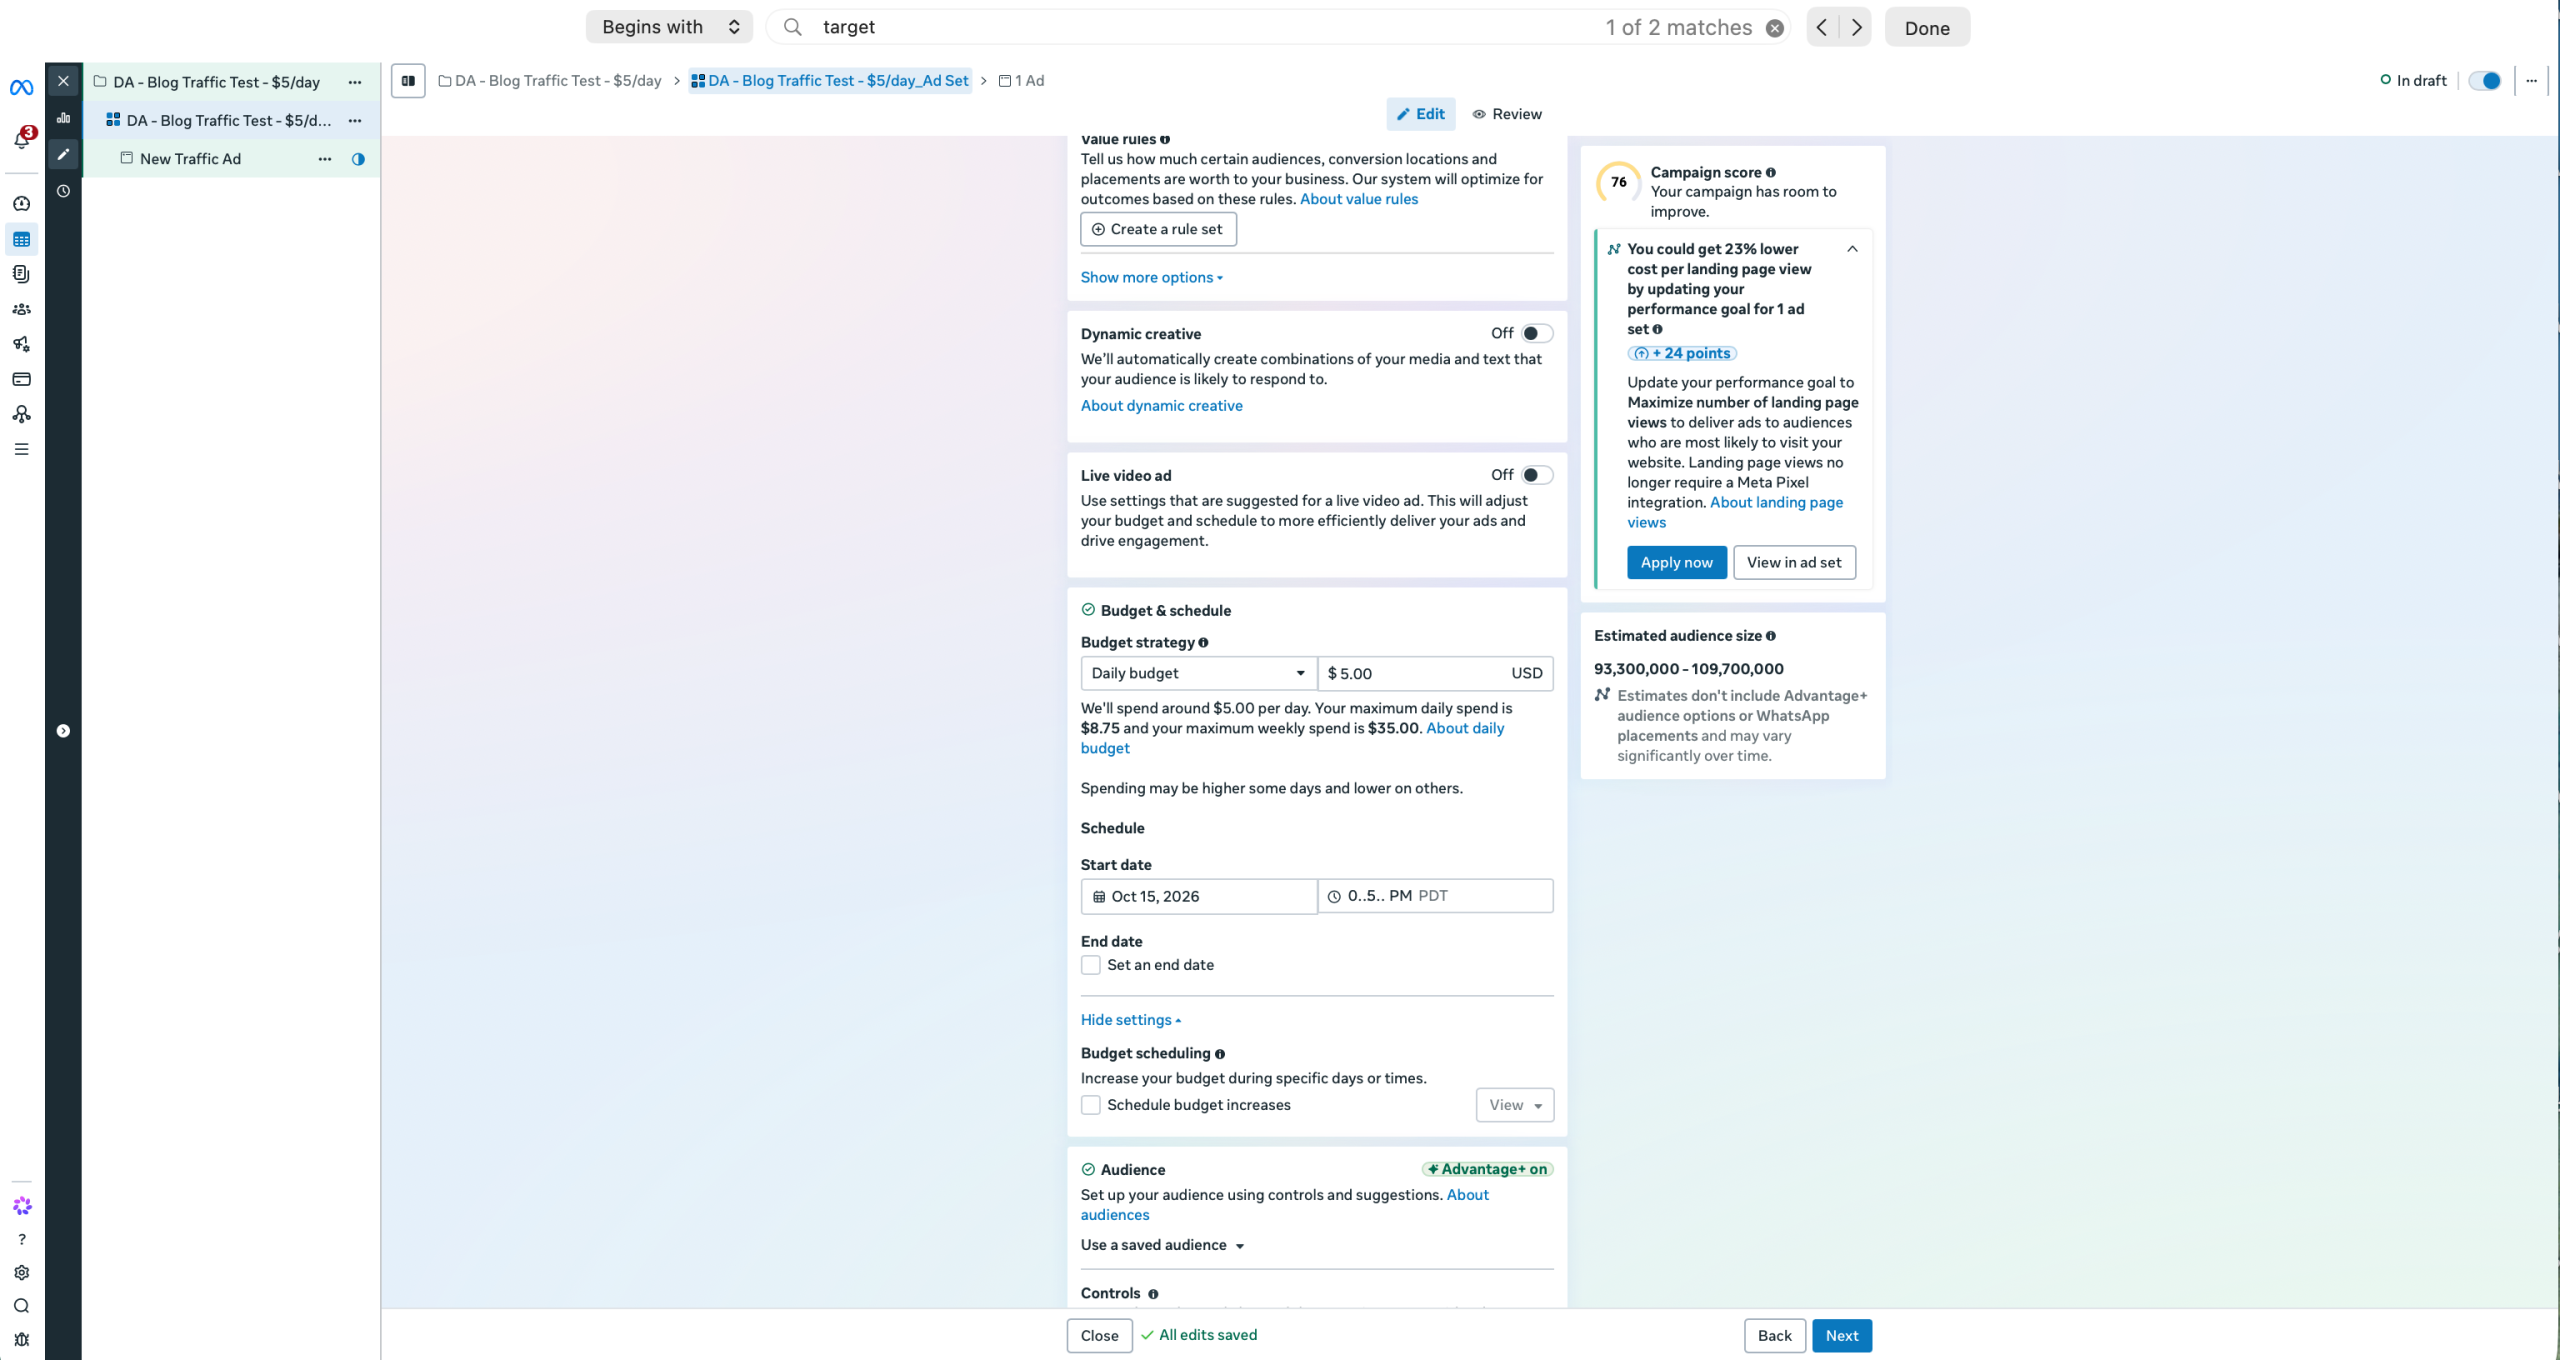
Step 3: Organize at the Ad Set Level
Click into a campaign and you arrive at the ad set level. This is where the lesson's best organizing habit lives:
"Every time we make a change to the ad, we create a new ad set for that ad."
The instructor's agency would end up with 20 or 30 ad sets inside a single campaign. Because each change gets its own ad set, the metrics sit side by side, and you can measure one version against another very quickly to see whether your iteration improved results.
Their naming rule: name the ad set after the ad. If it holds your third creative variation, name the ad set "Ad 3."
Step 4: Go One Level Deeper to the Ad
Click an ad set and you reach the ad itself. It shows the same stats, just one level deeper: including click-through rate (CTR) and your bid amount. From here you can preview the ad and verify targeting parameters.
What is different today: In the current Ads Manager, the live preview panel sits right inside the ad editor on the right side of the screen, displaying Facebook and Instagram feeds side by side while you build.
3. Learn the Number Facebook Cares About Most
This is the most important insight in the lesson, and it has nothing to do with software layout:
"Facebook rewards people for having high click through rates."
The instructor's operational benchmarks:
- Under 1% CTR: Facebook shows your ad less, and you will have to pay significantly more to keep impressions running.
- Over 1% CTR: Considered a solid, healthy click-through rate.
- 2% or higher CTR: Facebook aggressively serves the ad and continues dropping your cost per click.
"You got to think of it from Facebook's perspective, because they want to show ads that are going to get clicked a lot, because they only get paid when those clicks happen." In other words: a better ad is literally cheaper to run.
Step 6: Know Where the Ancillary Tools Live
The instructor walks through the navigation menu. Two tools get special attention:
- Conversion Tracking (The Pixel): Where you create tracking code for your website. Today this lives inside Events Manager.
- Audiences: Where you build custom audiences (website retargeting or customer email uploads) and lookalikes.
4. Build an Evaluation Report
The instructor's agency builds one custom report they call "Evaluation." It displays the critical metrics that determine whether a campaign lives or dies:
- Campaign and Ad Set naming breakdown
- Amount spent to date
- Total link clicks and CTR
- Registrations (application submissions for a consultation)
- Leads (front-end opt-ins)
- Cost per lead (CPL) and Cost per registration (CPA)
"If it's not hitting the numbers that you need to have in order to be profitable, you can shut down campaigns. And if you got one that's really cranking, you can start scaling it and upping the budget."
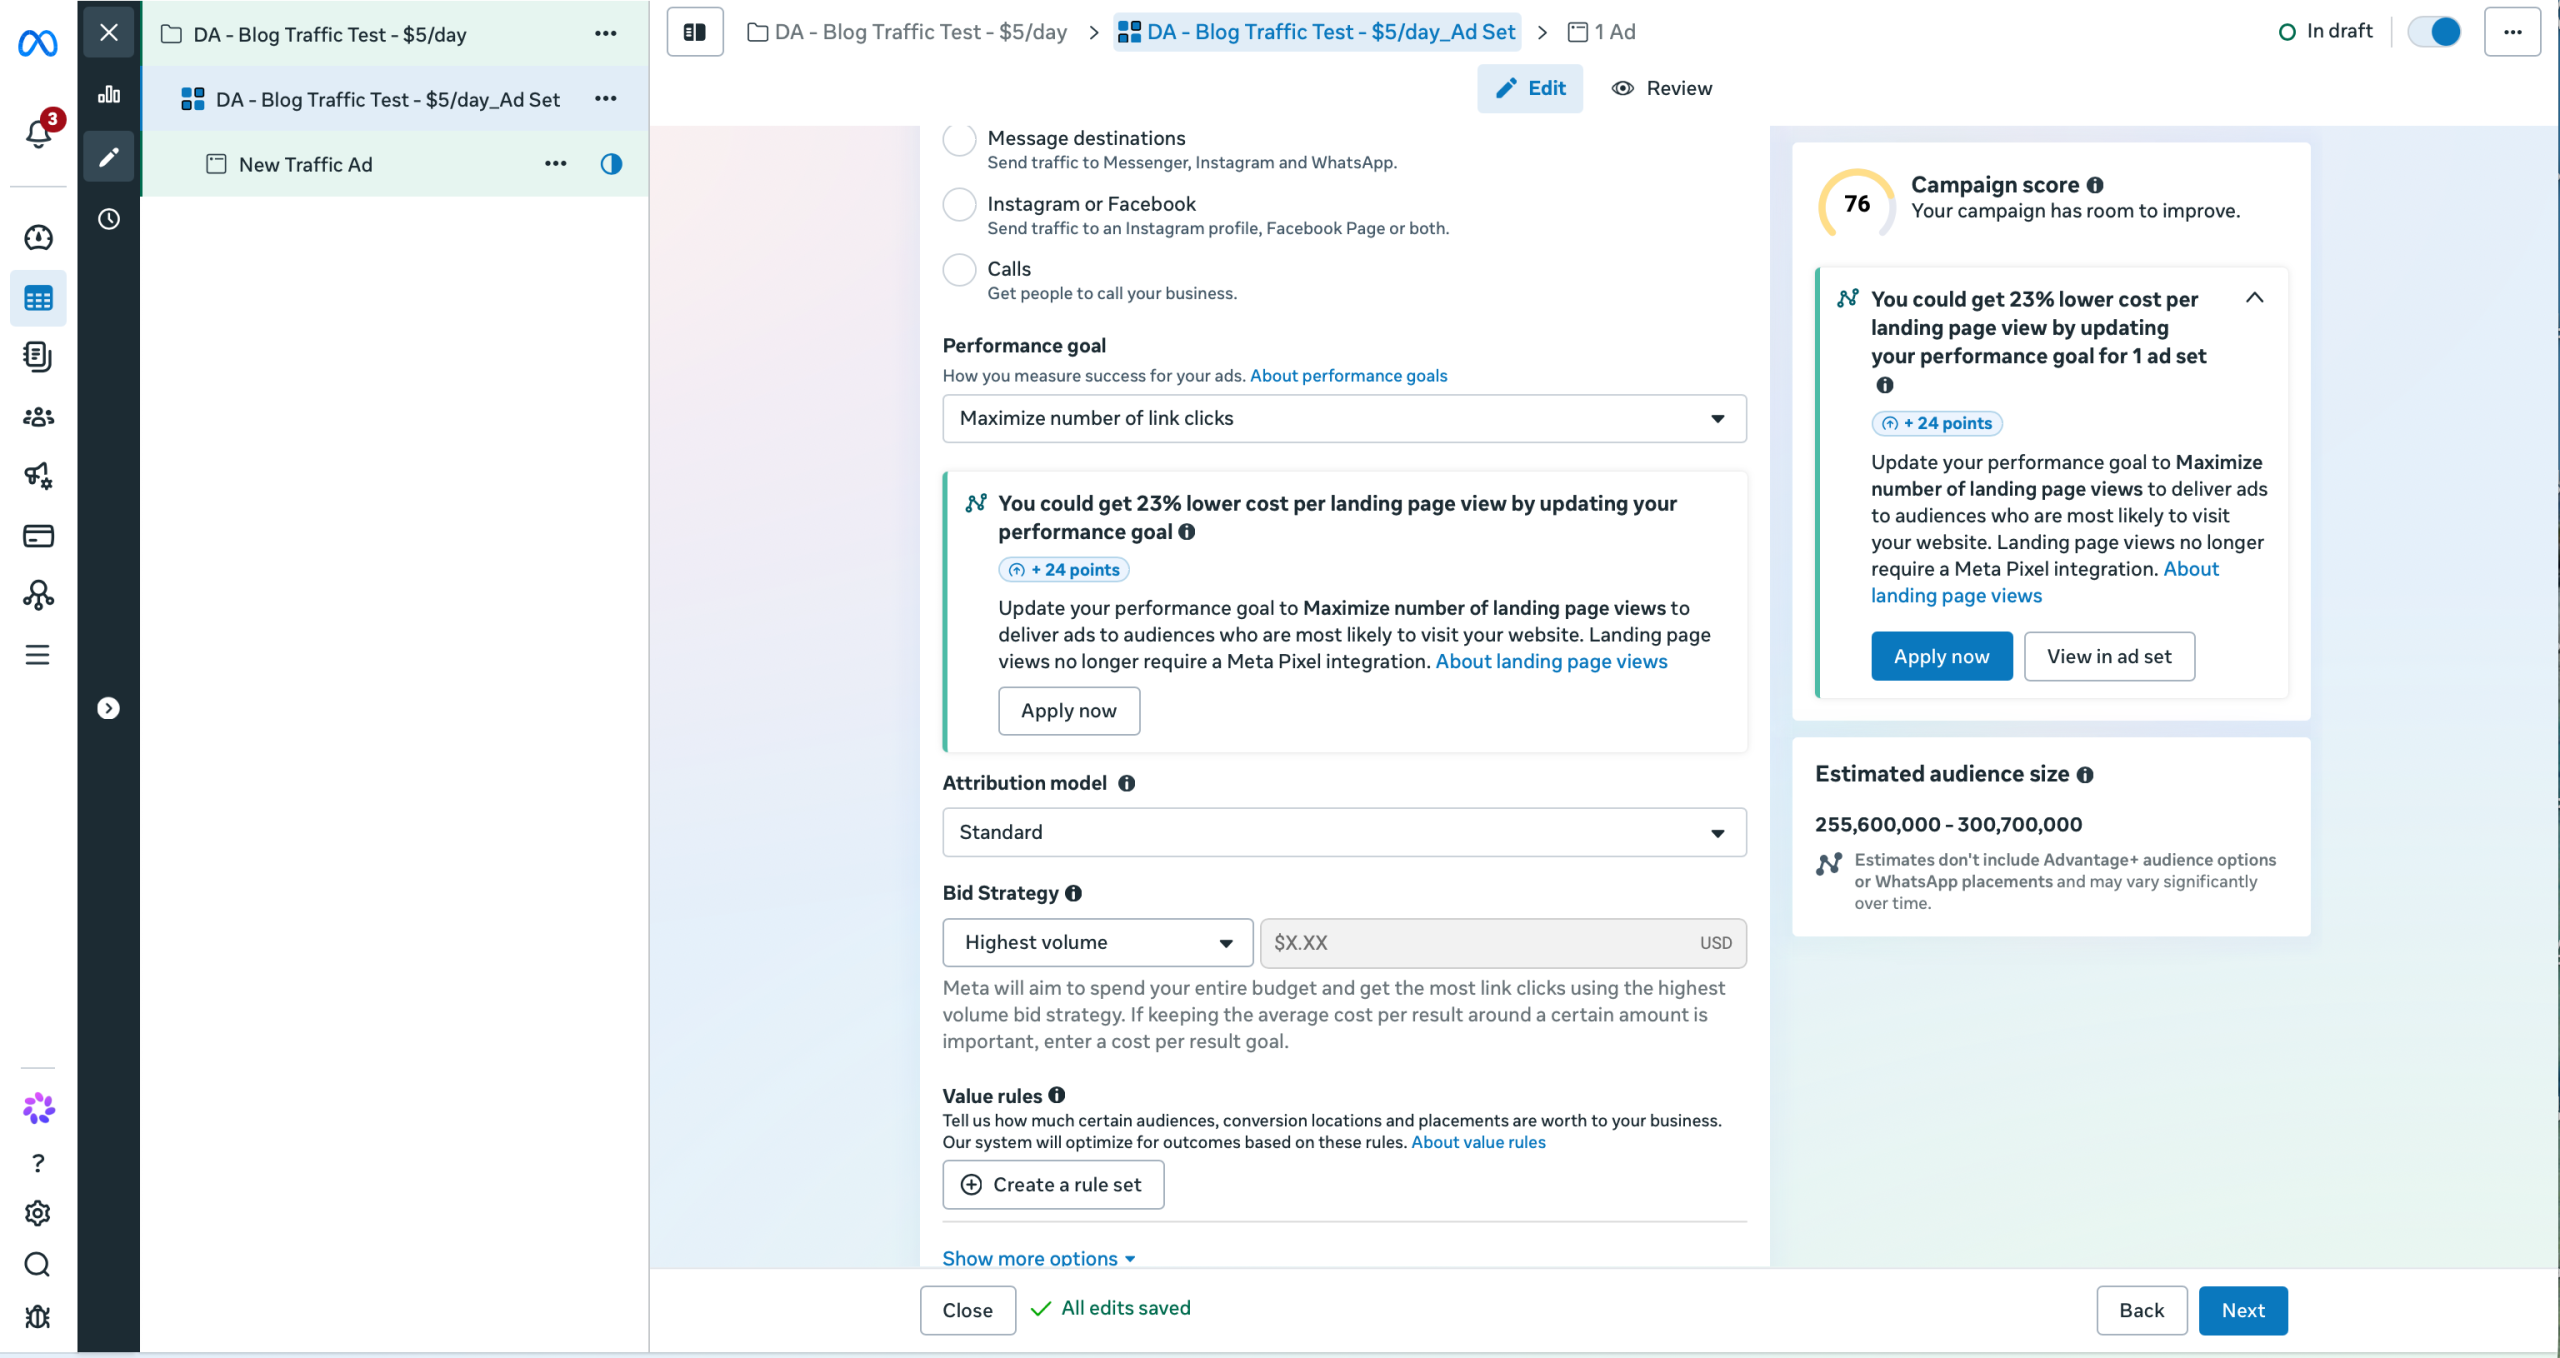
5. The Trap to Avoid: Following Old Tutorials Click for Click
The lesson ends by pointing to a separate legacy tool called Power Editor for bulk changes, noting it only worked in Google Chrome. If you look for Power Editor today, you will not find it. Those features (like the Duplicate button and quick batch edits) now sit directly inside the main Ads Manager table.
The strategic lesson is timeless: master the intent behind each setting, and you will easily locate where that setting lives in any modern UI update.
6. The Rule of Thumb
Before judging any ad, ask two diagnostic questions:
- Am I inspecting the right level? Campaign for high-level budgets, Ad Set for split testing, Ad for creative elements.
- Is my click-through rate above 1%? If not, the creative hook needs work before you inject more capital.
